 Save
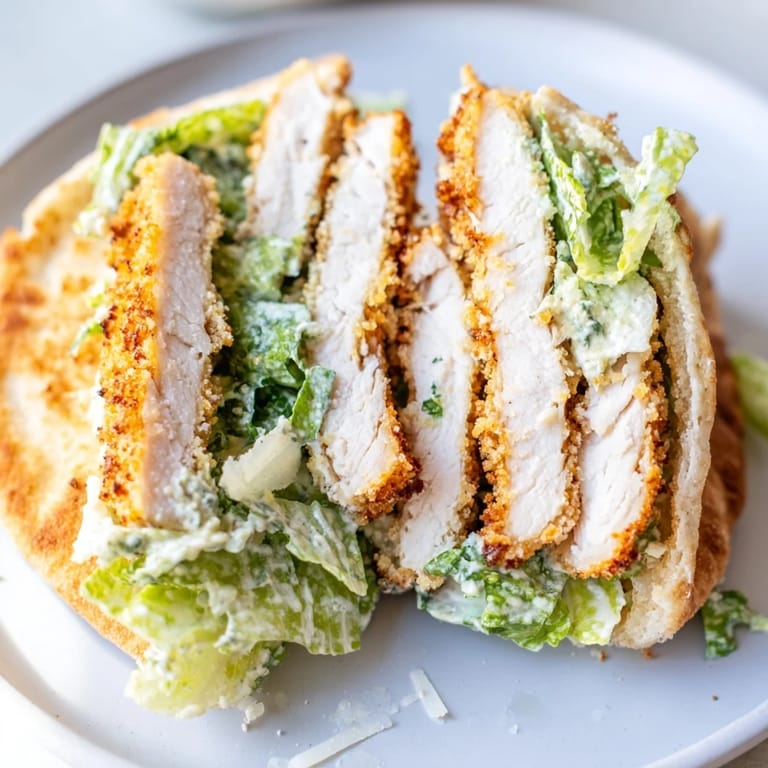
Save The first time I made these, my husband actually asked if we could have them twice in one week. There's something about that crunch when you bite through the warm pita into the herbed chicken that just works. I'd been experimenting with turning our favorite Caesar salad into something more substantial, and the pita pocket idea struck me during a particularly busy weeknight when I needed dinner on the table fast.
Last summer, I served these at a casual patio dinner with friends. Everyone was standing around, drinks in hand, happily eating their pitas without needing a fork. My friend Sarah asked for the recipe before she even finished her first one, and now she makes them for her kids every Tuesday. It's become one of those meals that feels special enough for company but easy enough for a Tuesday.
Ingredients
- 2 large boneless, skinless chicken breasts: Slice these horizontally to create four thinner cutlets, which cook faster and fit perfectly inside pita pockets
- 1 cup panko breadcrumbs: These Japanese breadcrumbs create an irresistibly light and crunchy crust that regular breadcrumbs just cannot match
- 1/2 cup grated Parmesan cheese: The salty umami punch here is what makes the coating taste like something from a restaurant
- 1 tablespoon chopped fresh parsley: Use whatever fresh herbs you have on hand, though parsley adds the brightest pop of green flavor
- 1 teaspoon dried oregano and 1 teaspoon dried basil: This classic Italian herb combo gives the chicken its aromatic backbone
- 1/2 teaspoon garlic powder: I learned to use garlic powder instead of fresh garlic in breading, as it distributes flavor evenly without burning
- 1/2 teaspoon salt and 1/4 teaspoon black pepper: Keep this handy to season right before the chicken hits the pan
- 1/2 cup all-purpose flour: This creates the first layer that helps the egg wash stick to the chicken
- 2 large eggs whisked with 2 tablespoons milk: The milk dilutes the eggs slightly, making for a more even coating
- 3 tablespoons olive oil: You need enough oil to create a shallow fry situation, but not so much that the chicken gets greasy
- 4 cups chopped romaine lettuce: Ice cold romaine with that satisfying crunch is non negotiable here
- 1/3 cup Caesar dressing: Homemade is lovely, but a good quality store bought works perfectly fine
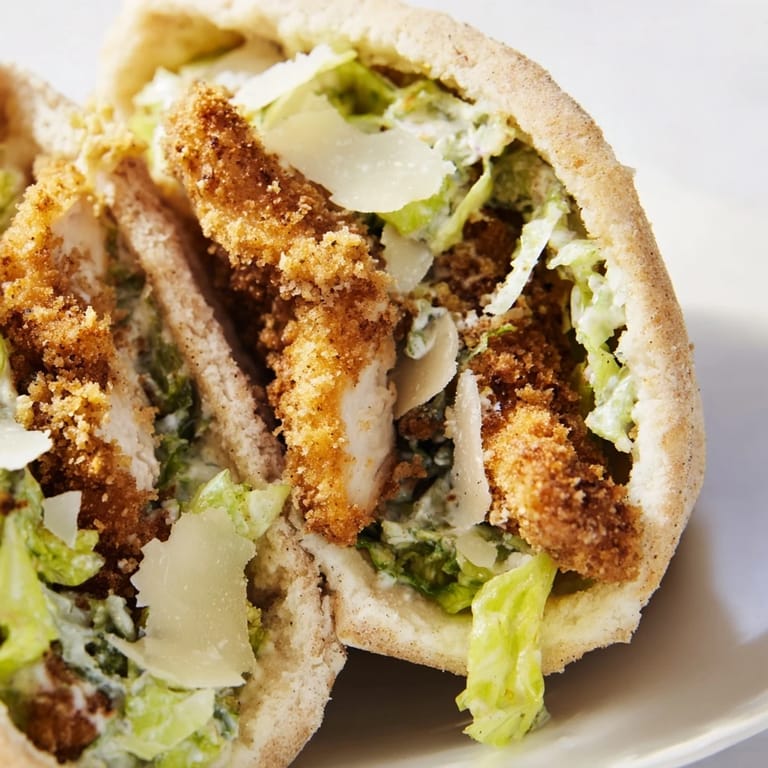
- 1/4 cup shaved Parmesan cheese: Shaving the Parmesan with a vegetable peeler creates those elegant, thin curls that melt slightly against warm chicken
- 4 large pita breads: Look for pitas labeled pockets or street style, which are designed to be stuffed
Tired of Takeout? 🥡
Get 10 meals you can make faster than delivery arrives. Seriously.
One email. No spam. Unsubscribe anytime.
Instructions
- Prep your chicken cutlets:
- Lay each chicken breast flat on your cutting board and place your hand flat on top. Using a sharp knife, slice horizontally through the middle to create two thin cutlets from each breast. Pound them lightly with the flat side of a meat mallet or your hand so they are an even thickness.
- Set up your breading station:
- Get three shallow bowls or plates ready. Fill the first with flour seasoned with a pinch of salt. In the second bowl, whisk the eggs and milk until combined. In the third bowl, mix the panko, grated Parmesan, parsley, oregano, basil, garlic powder, salt, and pepper.
- Bread the chicken like a pro:
- Dip each cutlet first into the flour, shaking off any excess. Then into the egg wash, letting the extra drip off. Finally press into the panko mixture, using your fingers to gently press the crumbs onto the chicken so they really stick.
- Cook until golden perfection:
- Heat the olive oil in your largest skillet over medium heat until it shimmers. Add two cutlets at a time without crowding the pan. Cook for about 4 minutes on the first side until deep golden brown, then flip and cook another 3 to 4 minutes until the chicken is cooked through.
- Warm the pitas:
- While the chicken rests, throw your pita breads into a dry skillet over medium heat for about 30 seconds per side. This makes them more pliable and gives them a subtle toasted flavor that makes such a difference.
- Make the Caesar salad:
- In a large bowl, toss the chopped romaine with the Caesar dressing until every leaf is lightly coated. Add the shaved Parmesan and the cherry tomatoes if you are using them.
- Assemble and serve:
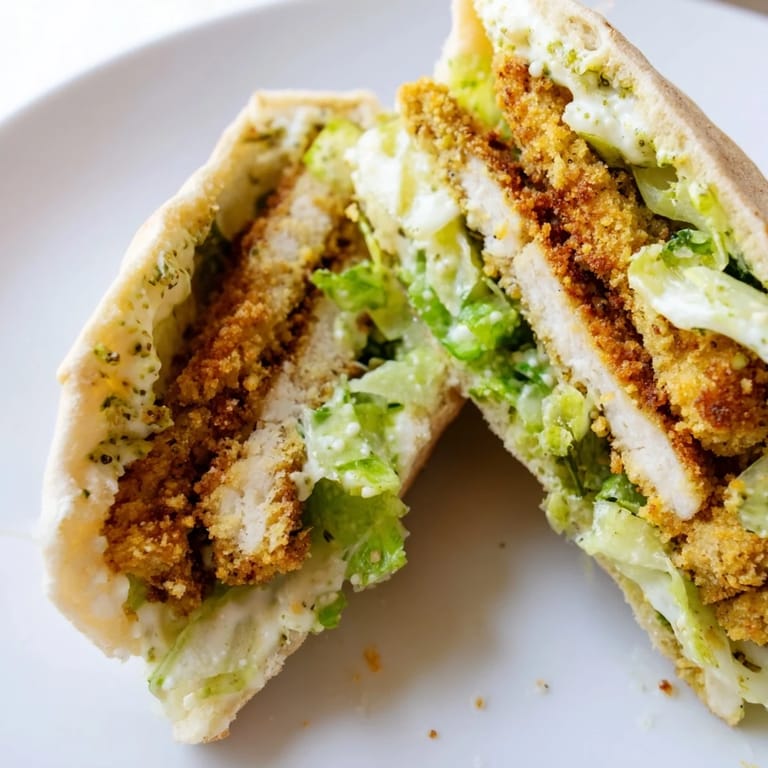
- Slice each chicken cutlet into strips. Cut each warm pita in half and gently open the pockets. Stuff some Caesar salad inside each half, then tuck in the chicken strips. Serve immediately with lemon wedges on the side for squeezing.
 Save
Save My daughter now requests these for her birthday dinner every year. That first time I made them, she was six and ate two whole pitas without saying a word, just looking up at me occasionally with this very serious expression of approval. Now it is our thing, the meal we make together while we talk about her day at school.
Make It Your Own
Once you get the basic method down, this recipe welcomes all kinds of tweaks. Sometimes I add a layer of fresh avocado slices or swap in grilled chicken when I want something lighter. My sister in law adds crispy bacon and says it changed her life.
Timing Is Everything
I have learned to have all my components ready before I start cooking the chicken. The salad should be dressed, the pitas warming, and the cutting board clean for slicing. The chicken needs to go from pan to pita while still hot, so work quickly and have everything staged within reach.
Serving Suggestions
These pitas are satisfying enough to stand alone as a meal. A simple side of fruit or some roasted vegetables rounds everything out nicely. I like to serve extra lemon wedges and additional Parmesan at the table so people can customize their own.
- Have extra napkins ready, because eating these can get wonderfully messy
- Consider making a double batch, as the leftovers reheat surprisingly well
- If feeding a crowd, set up a pita bar and let everyone assemble their own
 Save
Save There is something so satisfying about food that you can eat with your hands. These pitas bring a little joy to even the most ordinary weeknight.
Recipe FAQs
- → Can I prepare the chicken ahead of time?
Yes, you can bread the chicken cutlets several hours in advance and refrigerate them on a plate. Cook them fresh when ready to serve for the best crispy texture.
- → What's the best way to keep the pita bread warm?
Warm pitas in a dry skillet over medium heat for 1–2 minutes until soft and flexible. Alternatively, wrap them in foil and place in a 300°F oven for 5–10 minutes.
- → How do I prevent the breading from falling off?
Ensure each step of the breading process is thorough: coat in flour, dip in egg mixture, and press firmly into the panko mixture. Let breaded cutlets rest for 5 minutes before cooking.
- → Can I use a different protein instead of chicken?
Absolutely. Turkey cutlets work well with the same breading and cooking time. For a vegetarian option, try breaded eggplant or cauliflower steaks with adjusted cooking times.
- → What are some variations I can try?
Add sliced avocado, crispy bacon, or roasted red peppers to the filling. Substitute whole-wheat pita for extra fiber, or use grilled chicken for a lighter version. Fresh herbs like basil or dill enhance the flavor.
- → How should I store leftovers?
Store cooked chicken and Caesar salad separately in airtight containers in the refrigerator for up to 3 days. Assemble fresh pitas when ready to eat to maintain texture and prevent sogginess.