 Save
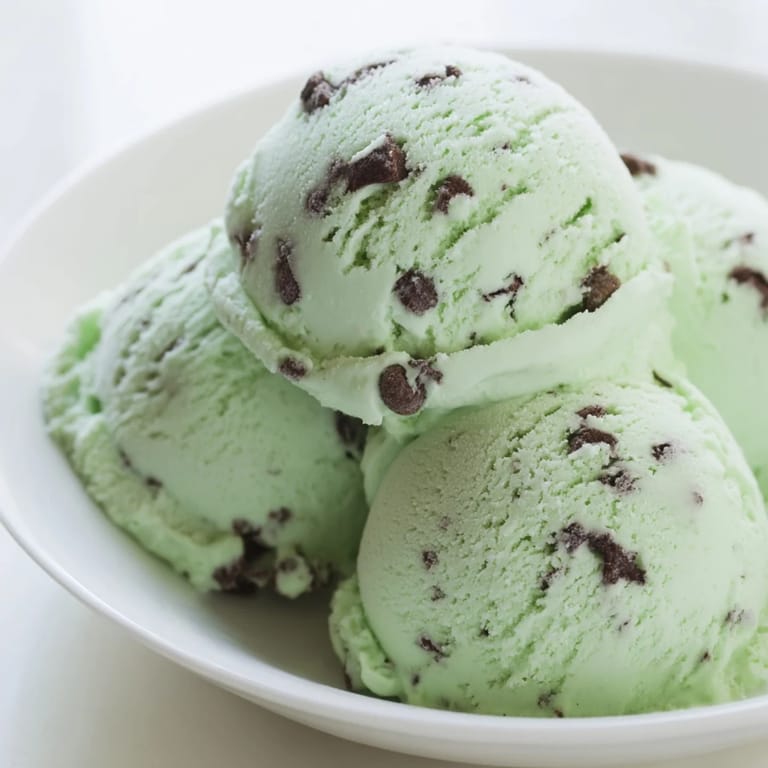
Save There's something about homemade ice cream that stops time. One sweltering afternoon, my neighbor mentioned she'd never had mint chocolate chip made from scratch, and I found myself opening my freezer to show her a half-melted container from my last attempt. That moment sparked something—not just the desire to make it again, but to get it right. The peppermint extract filled the kitchen with a clean, bright aroma that felt like summer itself, and watching the custard thicken over gentle heat became a small meditation I found myself craving.
I made this for my sister's birthday picnic one June, and I'll never forget how it disappeared faster than the ice could melt. She'd been stressed all week, and watching her face light up when she took that first bite—eyes closed like she was somewhere else entirely—made every careful step worth it. That's when I realized homemade ice cream isn't really about the recipe; it's about giving someone a moment of pure comfort.
Ingredients
- Heavy cream and whole milk: The cream carries fat and richness while milk keeps it from being too heavy; together they create that silky texture that coats your mouth just right.
- Egg yolks: These do the real work, emulsifying everything and adding richness that makes store-bought seem thin by comparison.
- Granulated sugar: Split between the cream mixture and the yolks; this matters because tempering with sugar prevents scrambled eggs and ensures a smooth custard.
- Peppermint and vanilla extracts: Pure extract makes all the difference—the artificial versions taste tinny and wrong, and vanilla rounds out the mint so it doesn't feel medicinal.
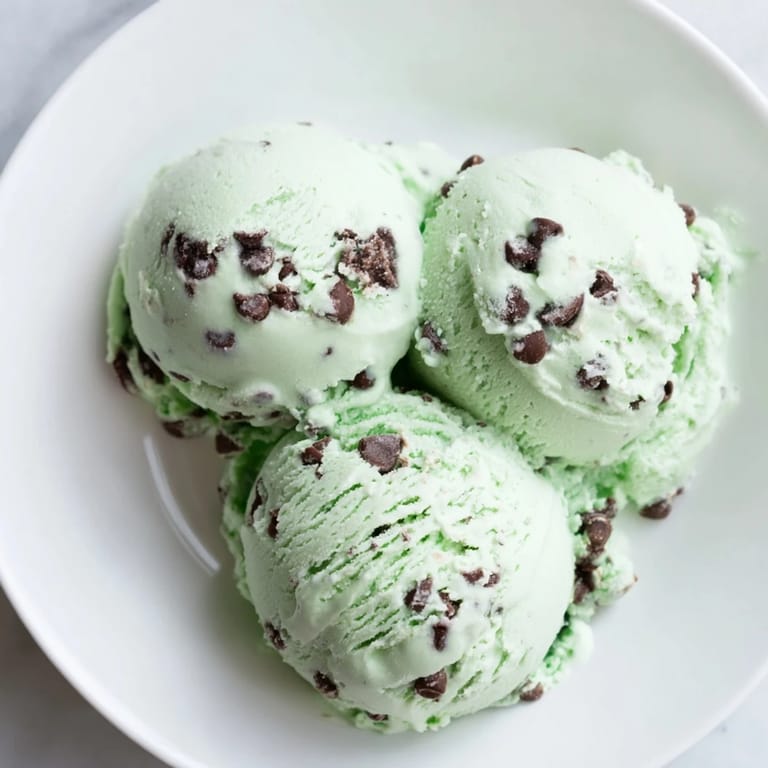
- Semisweet chocolate chips: Mini chips work best since they distribute evenly and don't sink to the bottom; I've learned the hard way that bittersweet can overpower the delicate mint.
Tired of Takeout? 🥡
Get 10 meals you can make faster than delivery arrives. Seriously.
One email. No spam. Unsubscribe anytime.
Instructions
- Heat the dairy base gently:
- Combine cream, milk, and half the sugar in a medium saucepan, then warm it over medium heat until wisps of steam rise and it smells sweet and creamy. You're looking for that moment just before a simmer, around when bubbles start creeping around the edges.
- Whisk the yolk mixture:
- In a separate bowl, whisk egg yolks with the remaining sugar until they turn pale yellow and thicken slightly, about 2 minutes of steady whisking. This step is easier than it sounds but matters more than you'd think.
- Temper the eggs slowly:
- Pour about 1 cup of the hot cream mixture into the yolks in a thin stream while whisking constantly—this is the critical moment where you're gently raising the yolk temperature without cooking them into scrambled eggs. It takes about a minute, and your arm might get tired, but that's the sign you're doing it right.
- Cook the custard to silky perfection:
- Pour everything back into the saucepan and stir constantly with a wooden spoon over low heat, watching for the moment when it coats the back of the spoon (around 170–175°F). Stop the second it reaches that point—boiling ruins the whole thing and you'll taste the difference.
- Flavor and strain:
- Remove from heat, stir in peppermint and vanilla extracts plus food coloring if you want that pretty pale green tint. Pour through a fine-mesh sieve into a clean bowl to catch any stray cooked bits of egg.
- Chill completely:
- Let the custard cool to room temperature (don't rush this), then cover and refrigerate for at least 3 hours or overnight. Cold custard churns more smoothly and freezes faster.
- Churn until almost frozen:
- Follow your ice cream maker's instructions, and in the final few minutes when it's thick but still soft, add the chocolate chips so they freeze suspended throughout instead of sinking. This is the moment when it transforms from custard into actual ice cream.
- Freeze firm:
- Transfer to a freezer-safe container and freeze for 2–4 hours until it's the texture you want—scoopable but solid enough to hold its shape.
 Save
Save I think about the evening my nephew—who usually refuses anything green—asked for thirds and wanted to know if we could make it every weekend. That question made the careful tempering and the wait feel less like work and more like a small act of love. Food memories stick around because they're tied to moments, and this ice cream has collected a few good ones.
The Art of Tempering
Tempering eggs sounds complicated but it's really just gradually raising their temperature so they thicken without scrambling. I learned this by doing it wrong first—dumping hot cream straight into cold yolks resulted in a curdled mess that no amount of straining could fix. The second time, I poured slowly and whisked like my life depended on it, and the difference was instant. Now I think of tempering as having a conversation with the eggs: introduce them to heat gently, and they'll cooperate completely.
Choosing Your Chocolate
Quality chocolate makes a real difference here because you taste it directly without dilution. I've made this with bargain chips and with better semisweet chocolate, and the second version has a cleaner, less waxy finish. Mini chips distribute better than full-size ones, and adding them in the final moments of churning keeps them from sinking to the bottom where nobody gets them. Dark chocolate adds bitterness that can work, but it competes with the peppermint instead of playing with it.
Mint and Flavor Variations
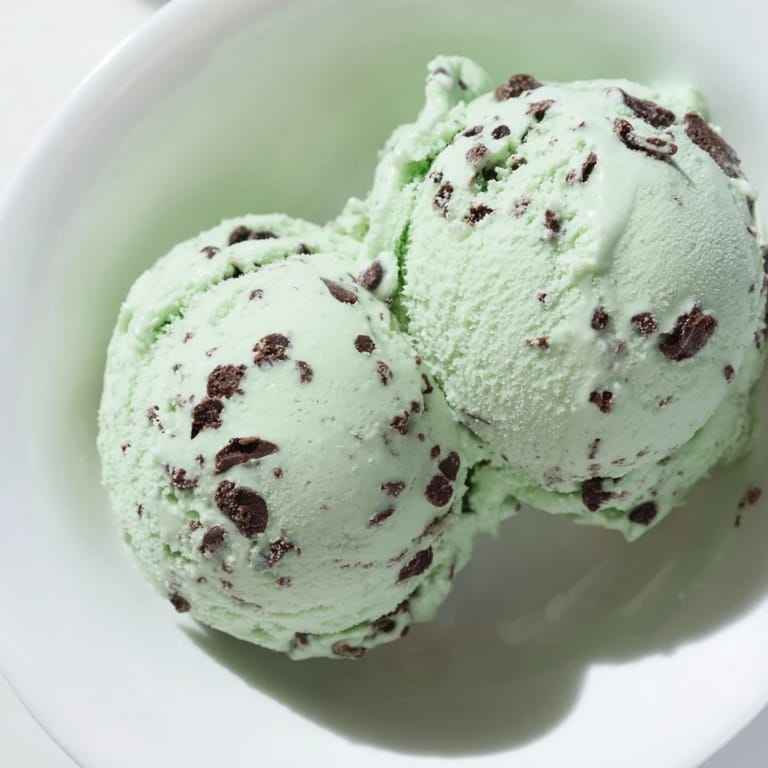
The peppermint extract is the star, but vanilla is equally important because it softens the mint just enough so the whole thing tastes complex instead of one-note. I've experimented with steeping fresh mint leaves in the cream before step 2 for a more herbaceous flavor, and it works beautifully if you're patient with the straining. Food coloring is optional, but that pale green tint makes it feel special and nostalgic in a way the flavor alone doesn't quite achieve.
- For intense mint, steep a handful of fresh mint leaves in the warm cream mixture for 10 minutes, then strain before tempering the eggs.
- Using both extract and fresh mint creates the most memorable flavor, but start with extract alone if you're nervous about overdoing it.
- A tiny pinch of salt in the custard makes the mint pop without tasting salty itself.
 Save
Save Homemade ice cream takes time and attention, but that's exactly why it matters. Every bowl you serve carries the evening you spent in your kitchen, the care you poured into tempering and chilling and churning, and that shows in the taste.
Recipe FAQs
- → How can I intensify the mint flavor?
Steeping fresh mint leaves in the milk and cream before cooking enhances the mint intensity. Be sure to strain the leaves out before mixing with egg yolks.
- → What chocolate type works best for this dessert?
High-quality semisweet chocolate chips provide a balanced sweetness and crunch that complements the mint flavor well.
- → Can I make a dairy-free version?
Yes, substitute coconut milk and coconut cream for the dairy components to create a dairy-free variation while keeping a creamy texture.
- → Why is tempering the egg yolks necessary?
Tempering gently warms the yolks to prevent scrambling when combined with hot cream, ensuring a smooth custard base.
- → How long should the mixture chill before churning?
Chill the custard thoroughly for at least three hours or overnight to develop flavor and improve texture before churning.