 Save
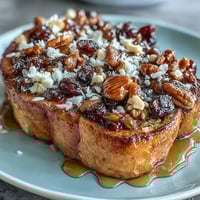
Save My neighbor knocked on my door one February afternoon holding an empty plate and wearing a guilty smile. She'd polished off an entire pan of something I'd sent over the week before and needed the recipe immediately. Those red velvet cheesecake brownies had become her new obsession, and honestly, I understood completely. The fudgy brownie base mingling with tangy cream cheese creates this perfect balance that feels both nostalgic and luxurious at once.
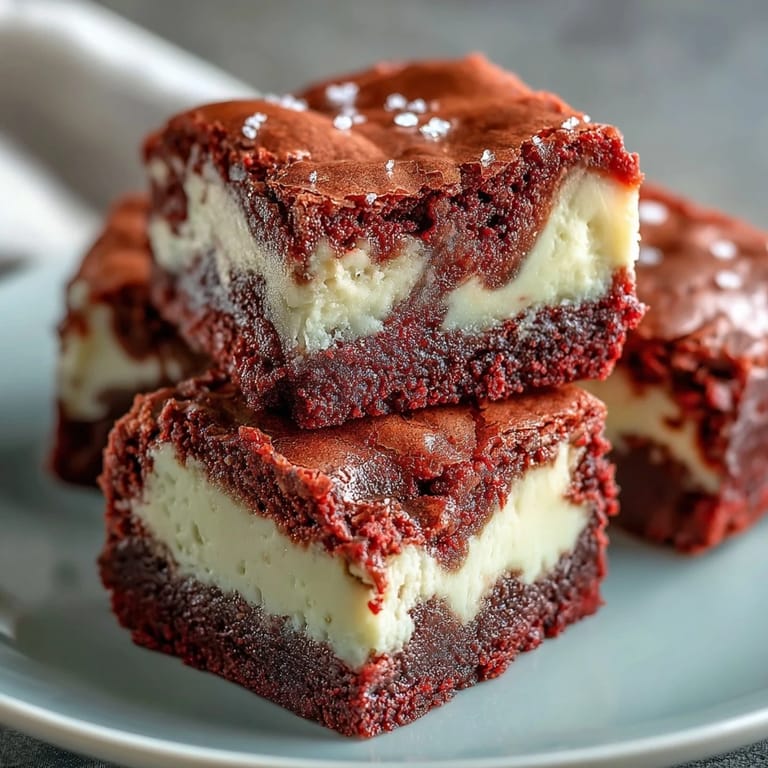
I first made these for a Valentine's potluck where everything else was either too sweet or tried too hard. Mine disappeared before the main course ended. A coworker cornered me by the coffee station asking if I'd considered selling them, and suddenly I realized I'd stumbled onto something special. The dramatic red swirls make them look fancy, but the recipe itself is forgiving enough that I've never had a true disaster.
Ingredients
- Unsalted butter (melted): Using unsalted lets you control the salt level perfectly, and melting it means no waiting for it to soften or wrestling with cold chunks.
- Granulated sugar: This dissolves smoothly into the melted butter and creates that signature crackly top when it bakes.
- Eggs (room temperature): Cold eggs can seize up the batter, so I set mine on the counter while I gather everything else.
- Vanilla extract: Pure extract adds warmth that balances the cocoa without competing with it.
- Red food coloring: Gel gives deeper color with less liquid, but liquid works fine if that is what you have on hand.
- All-purpose flour: Measure carefully here, too much and your brownies turn cakey instead of fudgy.
- Unsweetened cocoa powder: This gives red velvet its subtle chocolate flavor without overpowering the tangy cream cheese.
- Cream cheese (softened): Let it sit out for at least an hour so it beats smooth without lumps that ruin the swirl.
- Eggs for cheesecake layer: Just one is enough to set the cream cheese without making it too dense.
Tired of Takeout? 🥡
Get 10 meals you can make faster than delivery arrives. Seriously.
One email. No spam. Unsubscribe anytime.
Instructions
- Get Your Oven Ready:
- Preheat to 175 degrees C and line your pan with parchment, leaving extra hanging over the sides. This little step saves you from prying brownies out later with a butter knife.
- Mix the Brownie Base:
- Whisk melted butter and sugar until they look glossy, then beat in eggs, vanilla, and that vibrant red coloring. The batter should be smooth and jewel-toned, almost too pretty to bake.
- Fold in Dry Ingredients:
- Sift flour, cocoa, and salt directly into the wet mixture and fold gently until just combined. Overmixing develops gluten and turns fudgy brownies into tough ones, so stop as soon as the streaks disappear.
- Reserve Some Batter:
- Scoop out a quarter cup of red velvet batter into a small bowl and set it aside. Spread the rest evenly in your prepared pan, smoothing it into the corners.
- Prepare Cheesecake Layer:
- Beat softened cream cheese until fluffy, then add sugar, egg, and vanilla. Mix until completely smooth with no lumps, scraping down the sides of the bowl as needed.
- Layer and Swirl:
- Pour cheesecake mixture over the brownie base and spread gently to cover. Dollop reserved red batter on top, then drag a knife through in figure-eights to create marbled swirls.
- Bake Until Set:
- Slide the pan into the oven for 35 minutes, until the center barely jiggles and a toothpick comes out with moist crumbs. The cheesecake will firm up more as it cools, so don't overbake.
- Cool and Chill:
- Let the pan cool completely on a wire rack, then refrigerate for at least two hours. Cold brownies slice cleanly without dragging the cheesecake layer, giving you those perfect squares.
 Save
Save My son's teacher once told me she'd never seen a school bake sale item vanish so fast. Parents were trading phone numbers to coordinate who'd ask me for the recipe first. That moment when food becomes a little social currency, a reason for strangers to connect, that is when you know you've got something worth making again and again.
Getting the Perfect Swirl
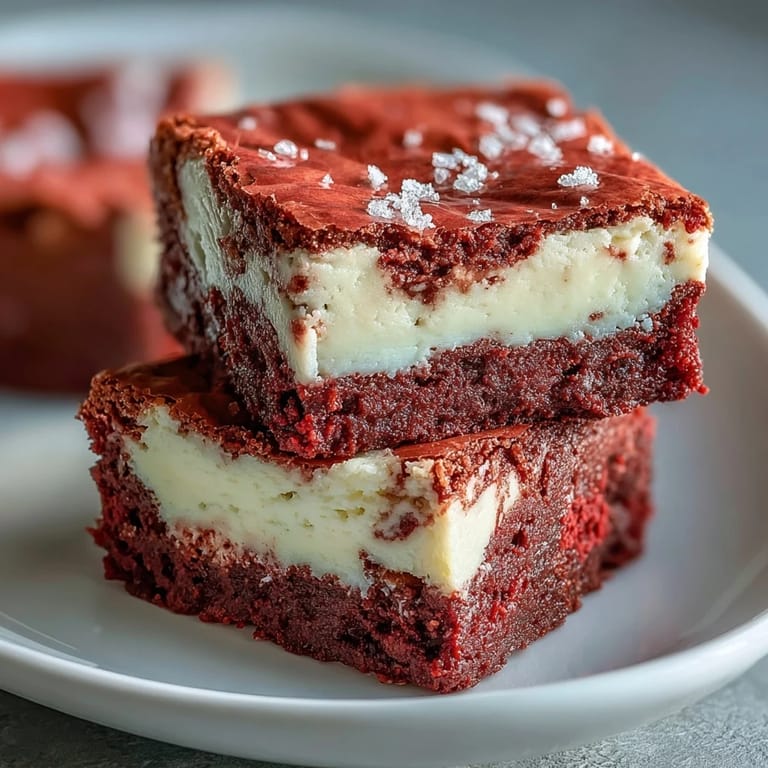
The first time I made these, I got overeager with my swirling and ended up with a murky pink mess instead of distinct red and white ribbons. Now I know that less is more. Drop spoonfuls of reserved batter in a loose pattern, then drag your knife through just once in each direction. The layers stay separate and the contrast looks stunning when you cut into them.
Storage and Make-Ahead Magic
These brownies are one of the few desserts that actually improve with time. The cheesecake layer firms up beautifully in the fridge, and the flavors deepen as they sit together. I often make them two days before I need them, cutting them into squares on the morning of the event. They keep for five days covered tightly in the refrigerator, though they've never lasted that long in my house.
Serving Suggestions and Variations
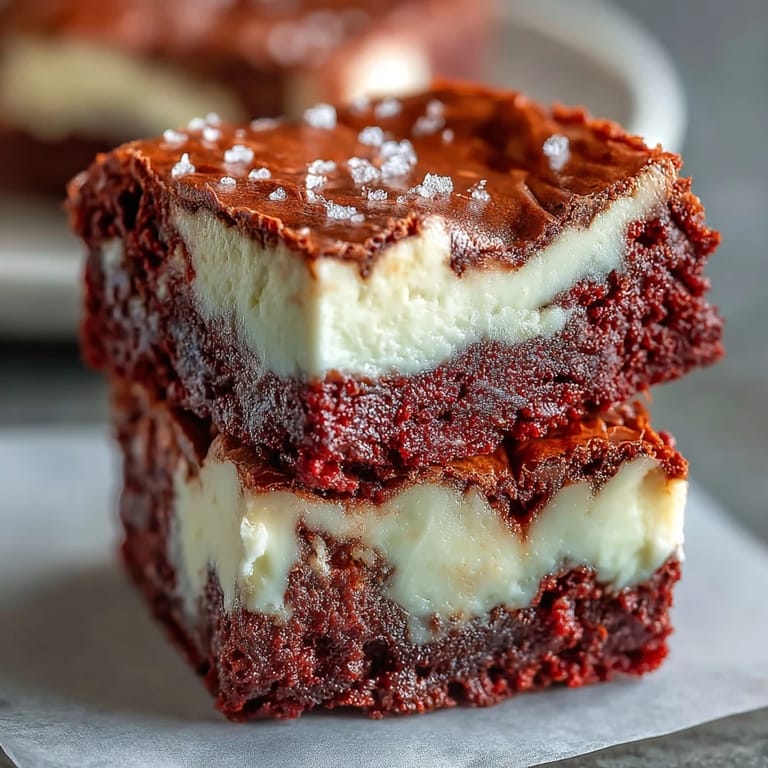
I like serving these straight from the fridge when the cheesecake layer is cold and firm, but some people prefer them at room temperature for a softer, fudgier texture. A handful of white chocolate chips folded into the brownie batter adds pockets of sweetness that play nicely with the tang. For holidays, I've dusted the tops with powdered sugar or added a drizzle of white chocolate, though honestly they need zero embellishment.
- Dust with powdered sugar just before serving for an elegant finish.
- Serve with fresh raspberries on the side to cut through the richness.
- Warm individual squares for ten seconds in the microwave if you prefer gooey brownies over fudgy ones.
 Save
Save These brownies have earned a permanent spot in my dessert rotation, the kind of recipe I no longer need to measure because my hands just know. I hope they become that familiar in your kitchen too.
Recipe FAQs
- → Can I use natural food coloring instead of artificial?
Yes, you can substitute with natural red food coloring, though the color may be less vibrant. Beet powder is a popular natural alternative.
- → Why is my cheesecake layer cracking?
Cracks typically occur from overbaking or temperature shock. Ensure you don't exceed the baking time and allow them to cool gradually at room temperature.
- → Can I freeze these brownies?
Absolutely. Wrap individual brownies tightly in plastic wrap, then store in a freezer-safe container for up to 3 months. Thaw in the refrigerator overnight.
- → How do I know when they're done baking?
The center should be just set with a slight jiggle, and a toothpick inserted should come out with a few moist crumbs—not wet batter or completely clean.
- → Can I make these in a larger pan?
Yes, but adjust baking time accordingly. A 9x13-inch pan will yield thinner brownies and require about 25-30 minutes of baking instead of 35.
- → Do I need to bring ingredients to room temperature?
For the cheesecake layer, yes. Room temperature cream cheese and eggs blend more smoothly, preventing lumps and creating a silky texture.